September 12, 2014
Table of Contents
Bread Molding Recipe, research
Bread molds in BnF Ms Fr 640:
140v
Molding and reducing a big piece
Mold it with the pith of the bread just out of the oven, or like that aforementioned, & and in drying out it will diminish & by consequence so too the medal that you have cast. You can, in this way, in lengthening out or enlarging the imprinted bread, vary the figure & from one face make several quite different ones. The bread straight from the oven is best. And that which has been reheated twice shrinks more. You can cast sulfur without letting the imprint on the bread dry, if you want to cast it as large as it is. But, if you want to let it diminish, let it dry either more or less.
Mouler et rapetisser une grand figure
Moule le avecq mie de pain venant du four ou co{mm}e la </lb>
susdicte & en se seichant il sapetissera & par consequent </lb>
la medaille que tu y gecteras Tu les peulx par ce </lb>
moyen en allongeant ou eslargissant la miette emprainte </lb>
varier la figure & dun visage en fayre plusieurs </lb>
tous divers Le pain venant du four est meilleur Et </lb>
celuy qui est deulx fois recuit se retire davantage Tu </lb>
peulx gecter le soufre sans laisser seicher lemprainte</lb>
du pain Si tu la veulx mouler aussy grande quelle est </lb>
Mays si tu la veulx laisser apetisser fais la seicher </lb>
ou plus ou moings </ab>
156r
Quickly moulding hollow mould and relief
Make an impression in colored wax of the relief of your medal. And you will get a hollow mold, in which you can throw en noyau a relief in sand. In this, you will cast your hollow in lead or tin. In this, you you will cast your wax relief. And then on this wax, you will make your hollow moule en noyau, in order to throw in it the relief in gold or silver or any other metal you would like. But to make this process go faster, if you are in a hurry, make the first impression and the first hollow out of the inside portion of the bread loaf, prepared as you know, and which will cast neatly. And inside this, throw in the melted wax which will give you a nice relief on which you can make your noyau.
Mouler prompteme{n}t et reduire un cave en relief
Tu peulx empraindre de cire coloree le relief dune<lb/>
medaille & tu auras un cave dans lequel tu pourras gecter<lb/>
en noyau un relief de ton sable sur lequel tu feras un cave de plomb<lb/>
ou destain dans lequel tu gecteras un relief de cire<lb/>
Et puys sur ceste cire tu feras ton moule en noyau cave<lb/>
pour y gecter le relief dor & dargent ou tel aultre<lb/>
metal quil te plaira Mays pour advancer besoigne<lb/>
si tu as haste fais le premier empraint & cave de mie de<lb/>
pain preparee co{mm}e tu scais qui moulera fort net Et la<lb/>
dedans gectes y de la cire fondue qui te rendra un beau<lb/>
relief sur lequel tu feras ton noyau</ab>
Cotgrave:
Mie de pain. The crumme, or pith of bread.
Mouler. To mould, or cast in a mould; to frame, or forge by mould; also, to appoint a mould for, prescribe a size unto.
Moulerie: f. A moulding; a forging by mould, a casting in a mould.
Mouleur: m. A moulder; a caster, forger, or framer of things in Moulds; also, as Moulleur; also…(cont.)
Miettes. f. Crummes, scraps, small fragments, or mammockes of bread, &c.
Empreinte: f. A stamp, a print, impression, hard setting in; a violent assault, a furious and forcible onset.
Hugh Plat, Delightes for ladies to adorne their persons, tables, closets, and distallatories with beauties, banquets, perfumes and waters. 1602 :
- sugar with gum dragagant, cast in wood molds
- Marchpane paste, almond and sugar
- cast fruit, “hollowe within”
ARTFL Encyclopedie
Empreinte (Gravure.) Article de M. le Chevalier de Jaucourt. (Page 5:595)http://artflsrv02.uchicago.edu/cgi-bin/philologic/getobject.pl?c.4:1143:2.encyclopedie0513.5969698.5969702.5969705
Après avoir fait plusieurs tentatives, l'on n'a rien trouvé de mieux pour faire ces moules, que la mie de pain & la colle - forte. Voici la maniere de procéder.
Il faut avoir de la mie de pain très - tendre, d'un pain qui soit peu cuit; ce qu'on appelle du pain cuit - gras. On la prend entre ses doigts; on la manie & remanie à plusieurs reprises, jusqu'à ce qu'elle commence à devenir pâteuse: on y mêle alors tant - soit - peu de vermillon ou de carmin: on la repaîtrit encore; & quand on est parvenu à la rendre bien molle & bien souple, on y imprime le relief, qu'on retire sur le champ, & le moule se trouve fait & assez bien formé: car cette pâte a une espece de ressort naturel, qui fait qu'elle se prête sans se déchirer; & comme elle embrasse assez exactement un relief dans toutes ses parties, elle s'en sépare aussi sans former aucune résistance.
Si en se détachant de la gravûre quelques portions de la pâte qui étoient entrées dans des cavités, ont été obligées de céder à des parties saillantes qu'elles ont rencontrées dans leur chemin, & de s'écarter, elles ont bientôt repris leur place. En peu de tems cette pâte se durcit, & elle acquiert assez de consistance pour devenir un moule capable de recevoir le plâtre ou le soufre liquide qu'on y veut couler. Mais elle a un défaut essentiel: quelque bien paîtrie qu'elle soit, elle ne s'insinue jamais assez parfaitement dans tous les petits traits de la gravure, elle demeure toûjours grasse & pâteuse; de sorte que les reliefs qui sortent de ces sortes de moules, n'ont aucune finesse, & sont privés de tous ces détails qui donnent l'ame & l'esprit à un ouvrage.
September 12, 2014 - after class
- Roze, Yijun and I looked for sourdough starter at Silver Moon Bakery and La Toulousaine bakery, no success. We e-mailed Judith Norell, head baker at Silver Moon, and are waiting on a response.
- Sourdough starter (ancestry: 1700s New England) can be purchased online through King Arthur Flour: http://www.kingarthurflour.com/shop/items/classic-fresh-sourdough-starter-1-oz
- A basic sourdough bread recipe for a cast-iron Dutch oven: http://www.instructables.com/id/Sourdough-Bread/?ALLSTEPS
September 13, 2014
Diana MellonBread Molding Recipe, starter research
We currently have 3 starter options:
- Silver Moon Bakery is willing to share a small portion of their two types of starters: rye sourdough and regular+rye sourdough mixture
- Professor Smith may share some of her sourdough starter next week
- I started making a sourdough starter at home--see below
Homemade sourdough starter - day 1
I am following this sourdough starter recipe from King Arthur Flour's blog...
- 1 cup Bob's Red Mill organic stone ground whole wheat flour
- 1/2 cup cool water filtered with PUR kitchen faucet MineralClear filter (+ 1 T water added later, because it seemed drier than the starter in KAF's picture)
- stir water and flour together in stoneware container with stainless steel fork
- cover loosely (I used an upside-down ceramic bowl)
- let sit in a warm place (suggested: above 68 degrees) for 24 hours (starting from 1pm)
- the weather is not great today, but when I started it was 70 degrees outdoors and warmer indoors
- I closed the window and left the starter near the light for maximum warmth -- we'll see how quickly it grows
| our flour |
| flour: organic, whole wheat, stone ground |
| PUR MineralClear water filter to reduce chlorine |
| mixing the ingredients |
September 14, 2014
Diana MellonBread Molding Recipe, starter research
- 11:15 am: no visible activity on the starter... so I'm going to wait one more day to start feeding
- mixed it to prevent a dry crust from forming (thanks for the tip, Roze!)
- kept windows closed and turned oven on for 30 mins to heat the kitchen
September 15, 2014
Diana MellonBread Molding Recipe, starter research
- 11 am: a few bubbles!
- recipe said to take out 1/2 of the volume, but I don't think mine has quite doubled in size yet, so I took out 1/3 cup (or about 1/4 volume)
- instead of discarding it, kept it in mug
- "discard" starter in mug will be fed "intuitively," not according to recipe instructions
- fed main starter batch scant 1/2 cup water and scant 1 cup flour, as recipe suggests, covered with ceramic bowl
- fed "discard" starter flour and water by eye and covered with double layer of paper towel and rubber band
- acquired 2 starters from Silver Moon bakery: rye and rye & all-purpose blend
- 1 am: discard starter smells mildly putrid, homemade starter also smells acidic and mildly putrid and has almost tripled in size, though much of the volume is made up of trapped air bubbles
- fed all 4 starters: same flour and water proportions for homemade starter as above (scant 1 cup flour and 1/2 cup water, after discarding) and by eye for 3 other starters
September 16, 2014
Diana MellonBread Molding Recipe, starter research
- commenced twice-daily feedings
- all 4 starters continue to grow and are beginning to look more and more similar as they are all fed the same flour and water
September 18, 2014
Diana Mellon, Michelle Lee, Yijun WangBread Molding Recipe, bread-making
- two main sources:
- Jacob Burton's recipe for sourdough bread: https://www.youtube.com/watch?v=YfWcs2k7oQ4
- Robert Godfrey’s receipts, 1665-1799 from U of Iowa DIY site: http://diyhistory.lib.uiowa.edu/transcribe/scripto/transcribe/1800/56904
- “To make French Bread. Take a quantity of the finest flower you can gett and mingle it with milk and water of equall quantity and double the quantity of yest wch is used to be put in other manchett and mingle it so stiffer then you use to mingle it for a puddinge it must be laid in dry flower the space of 6 houres where it may be kept warme the oven must be hotter then for other manches then rowle it up in flower and put it in little dishes then put it quickly out of the dishes uppon the peele and put it in the oven quick it must stand 3 quarters of an houre it will rase best when it is hott yff hee puts salt in the bread it wilbe the heavier.” (p. 33)
- both ended up being very similar in general, though described very differently!
- our procedure
- converted grams to cups:
- just over 2 cups starter (we used Silver Moon's rye/all-purpose starter)
- 1.2 cups water
- 4.2 cups flour (Bob’s Red Mill stone ground organic whole wheat)
- hand mixed all together in ceramic bowl
- dough remained sticky, became less sticky at the end
- 2:00 left to rise under wet cotton kitchen cloth (to keep in moisture)
- we used a wet kitchen cloth because Yijun's grandfather uses that when making dough, and because plastic wrap was obviously not used at the time!
- 5:45 dough has risen to not quite double its original size
- kneaded dough on wooden board
- dough feels less sticky at first, then becomes stickier
- dusted wooden board and bread lightly with flour
- slightly more elastic than early afternoon
- folded bread over, placed back into ceramic bowl dusted with flour, seam-side up
- 6:00 left to rise under wet cotton kitchen cloth
- 9:45 dough has risen to double its original size
- dusted wooden board with flour and began kneading
- contains air pockets and reduces when kneaded
- more elastic, can be folded without breaking, sticks to itself better
- surface feels and appears drier
- folded bread and shaped it seam-side down into round
- 9:58 placed bread in oven at 500 F in cast iron enameled Dutch oven with lid on
- 10:10 removed lid, turned head down to 425 F
- 10:30 checked on bread
- nice crust is building!
- inserted knife, found center still raw
- replaced bread in oven
- 10:45 checked on bread
- similar, crust more browned and crispier
- inserted knife, found center to be less raw, but still raw at deepest level
- replaced bread in oven
- 10:53 removed bread from oven
- sliced bread in half — steam comes out!
- inside appears uniformly brown and dense, slightly moist, very hot
- scooped dough out of two halves of crust with spoons
- shaped dough mass around 3 objects: seashell, fish-shaped bottle opener, small scissors
- pressed objects firmly into dough and left on wooden boards to harden
- ate remaining crust: delicious! (especially with cheese)
- a challenge: bread emerged from oven very hot, making it difficulty for us to mold by hand before it hardened
- the bread began hardening quickly so we just worked through the heat!
- success?! TBD…
- converted grams to cups:
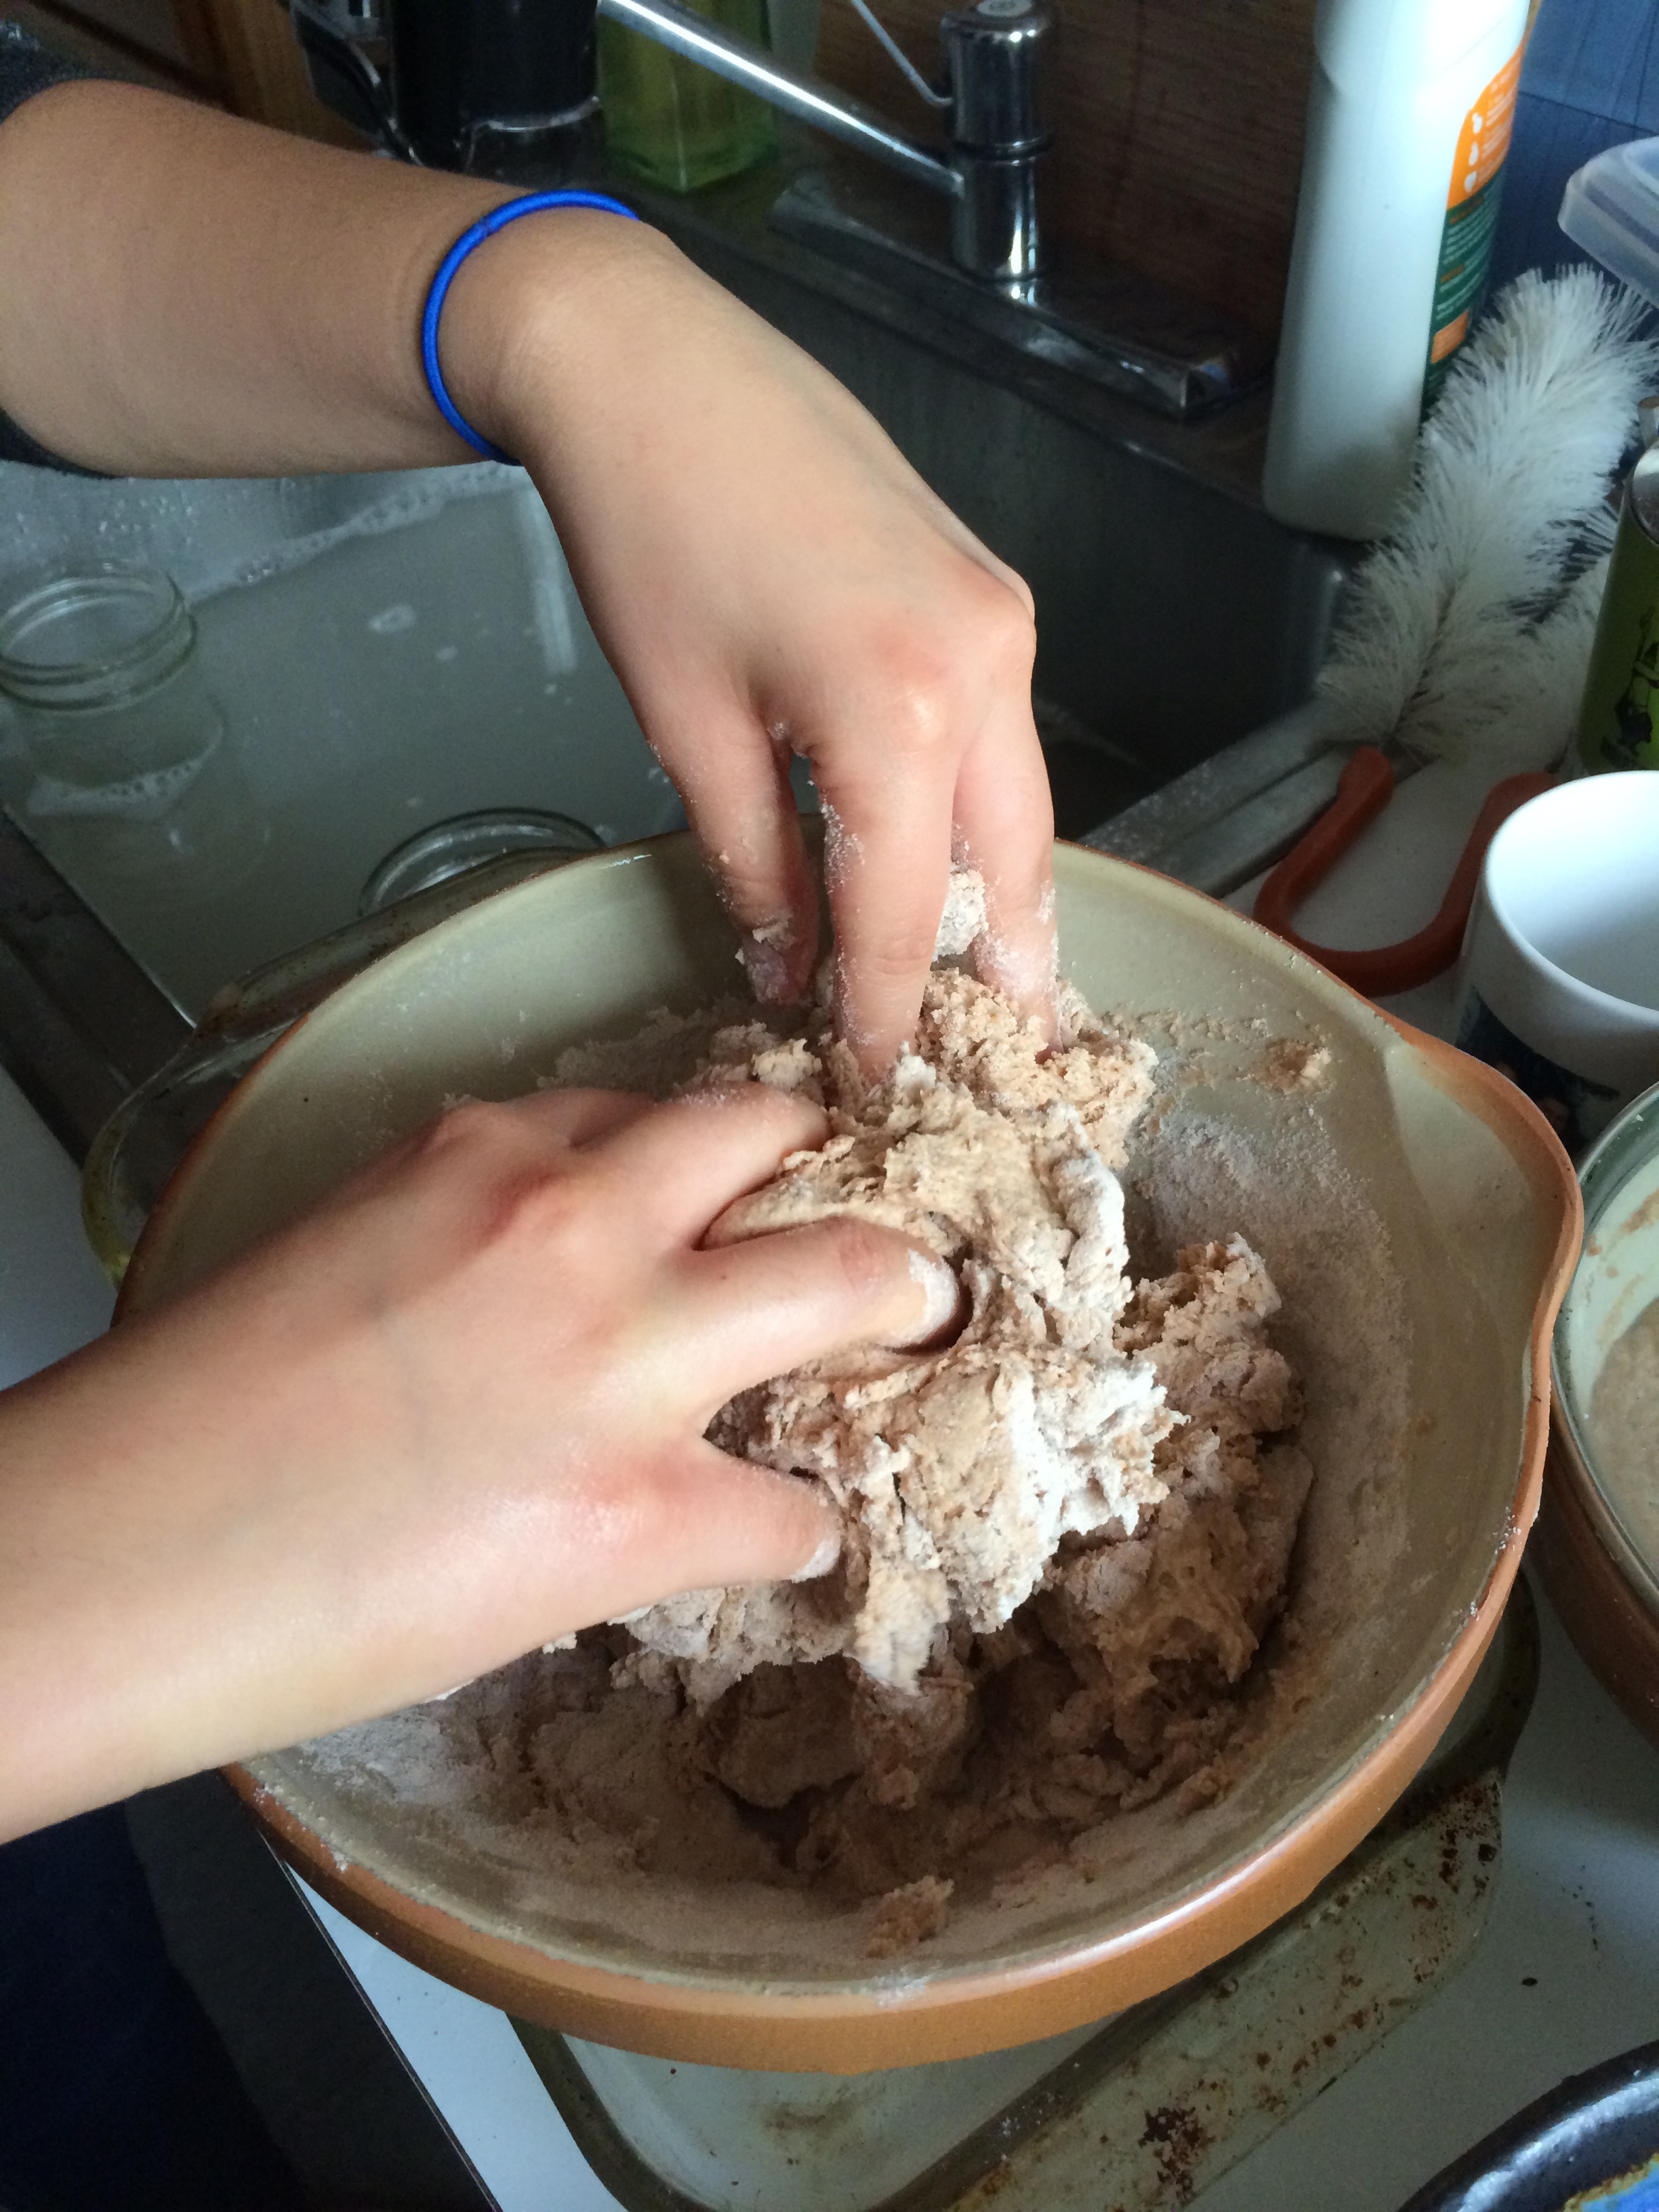 |
| kneading starter, flour and water |
 |
| dough is sticky at first |
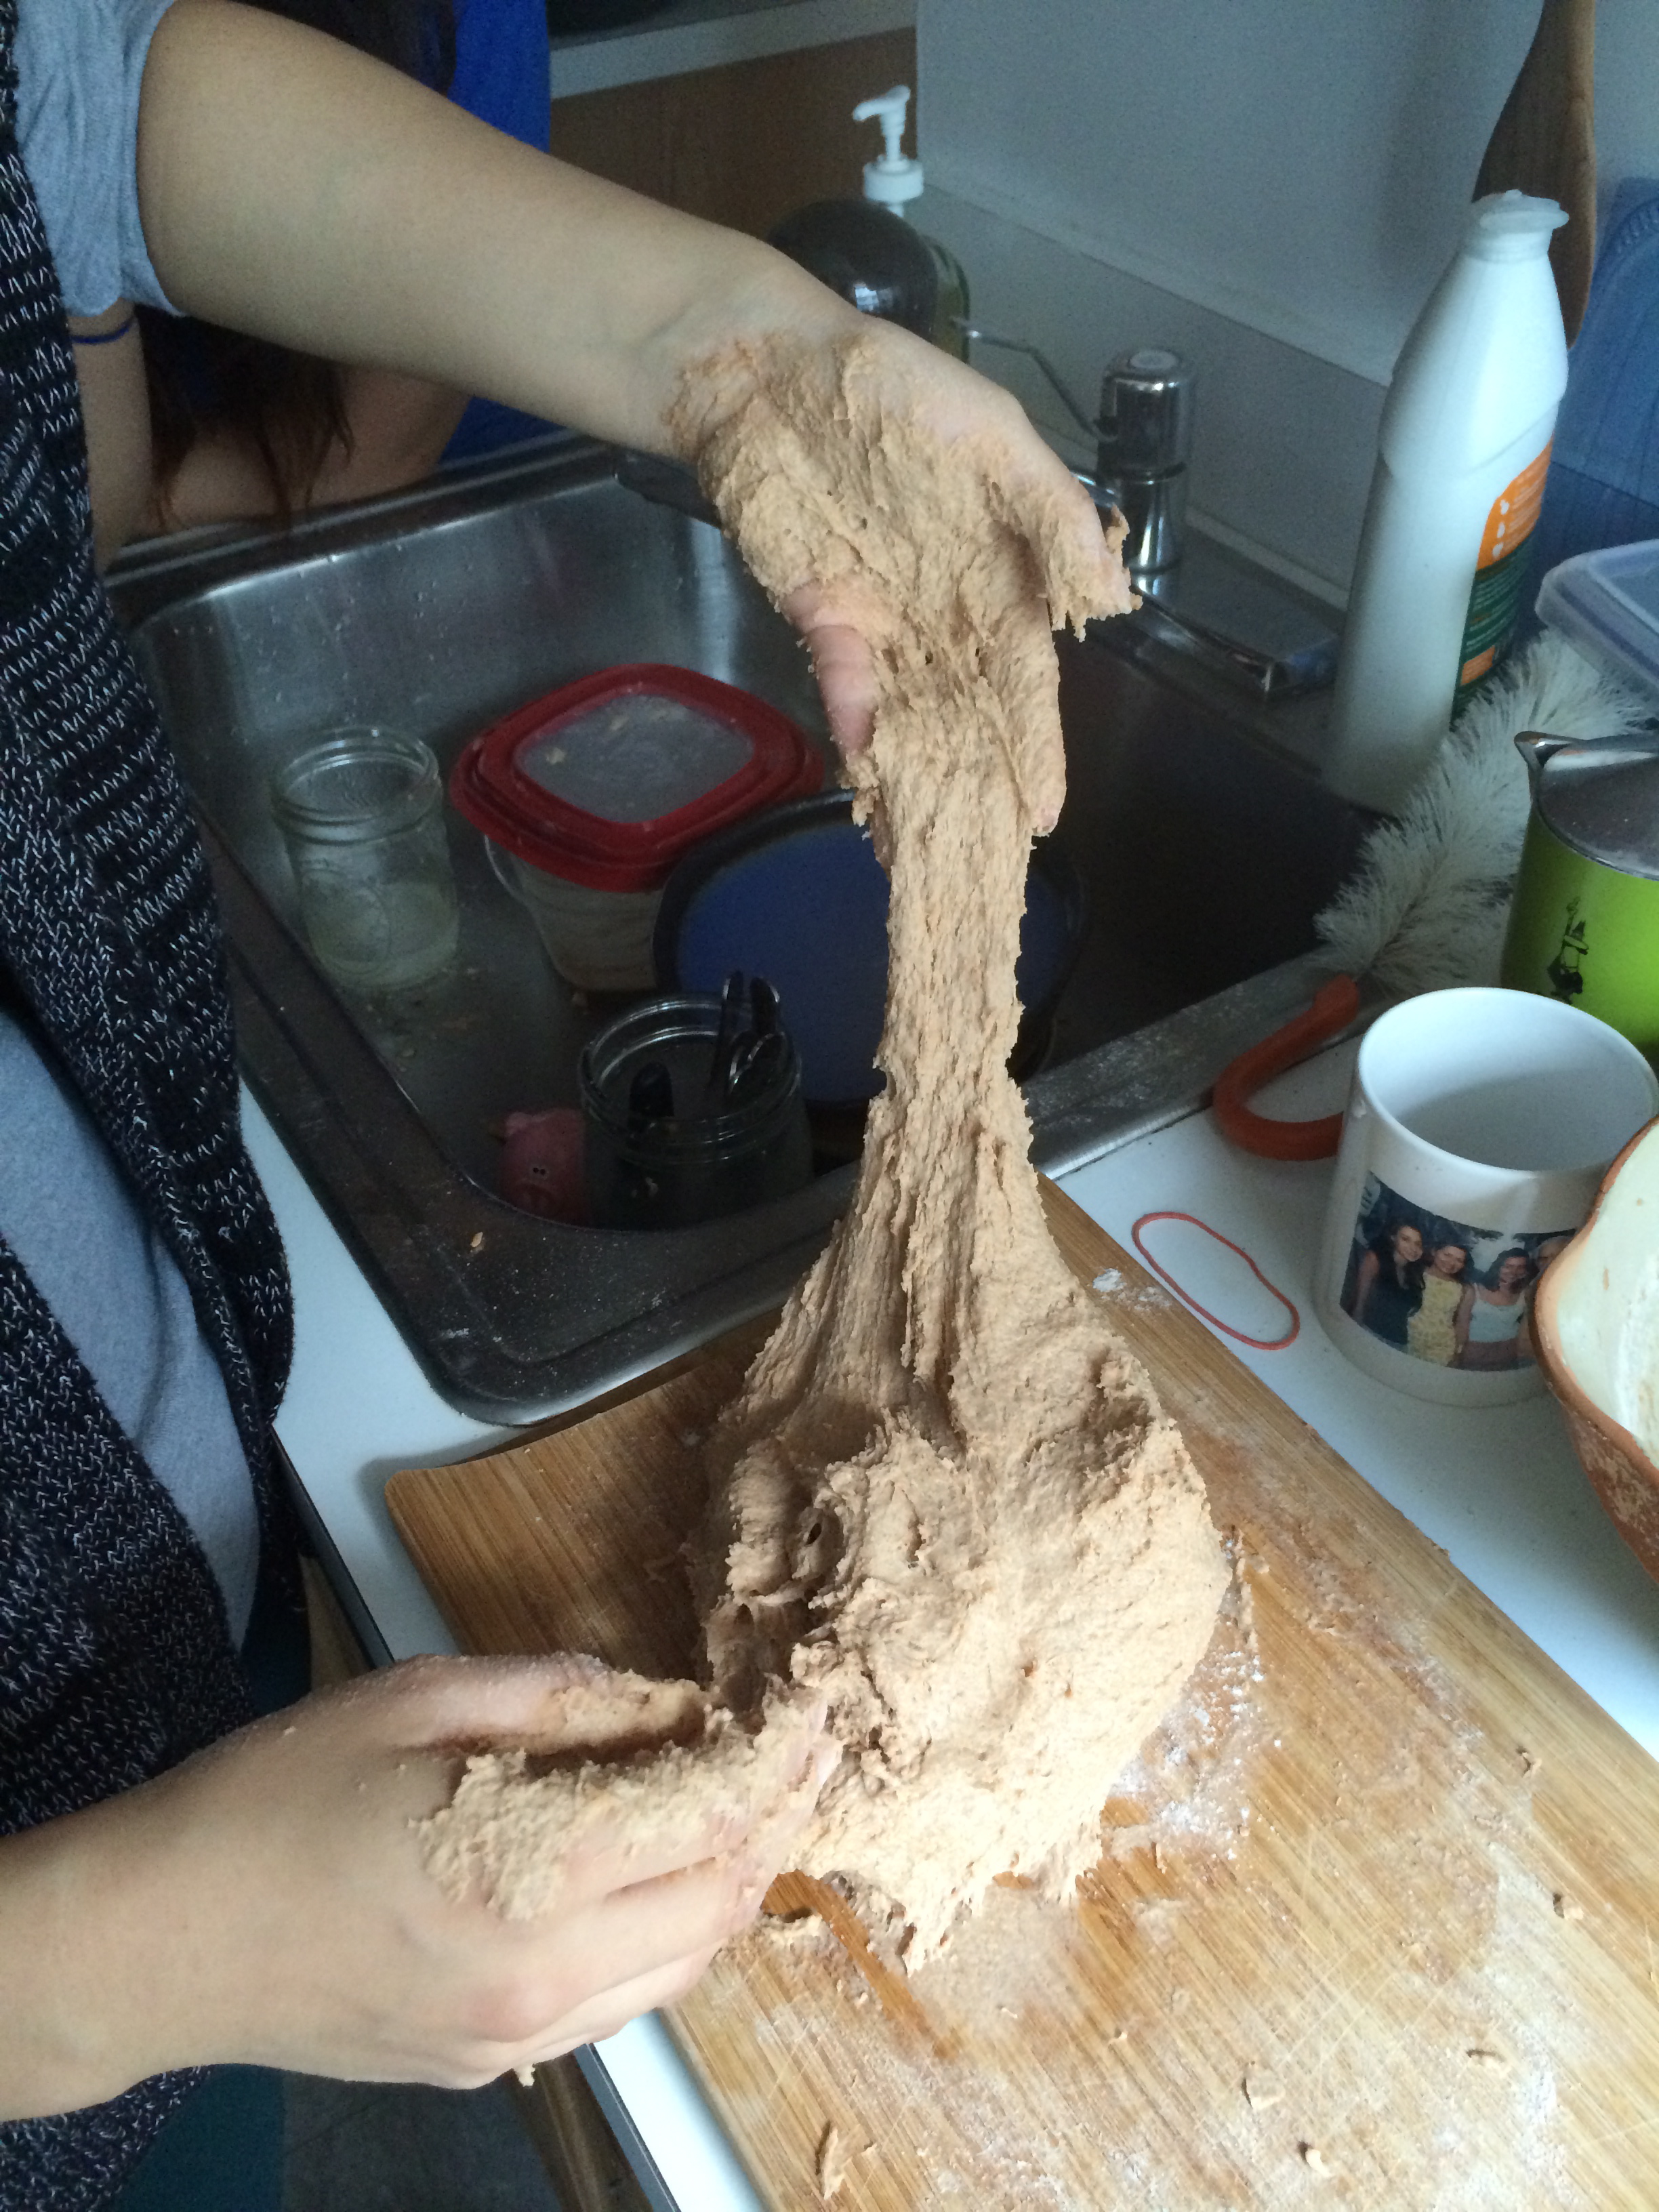 |
| dough begins to become slightly more elastic |
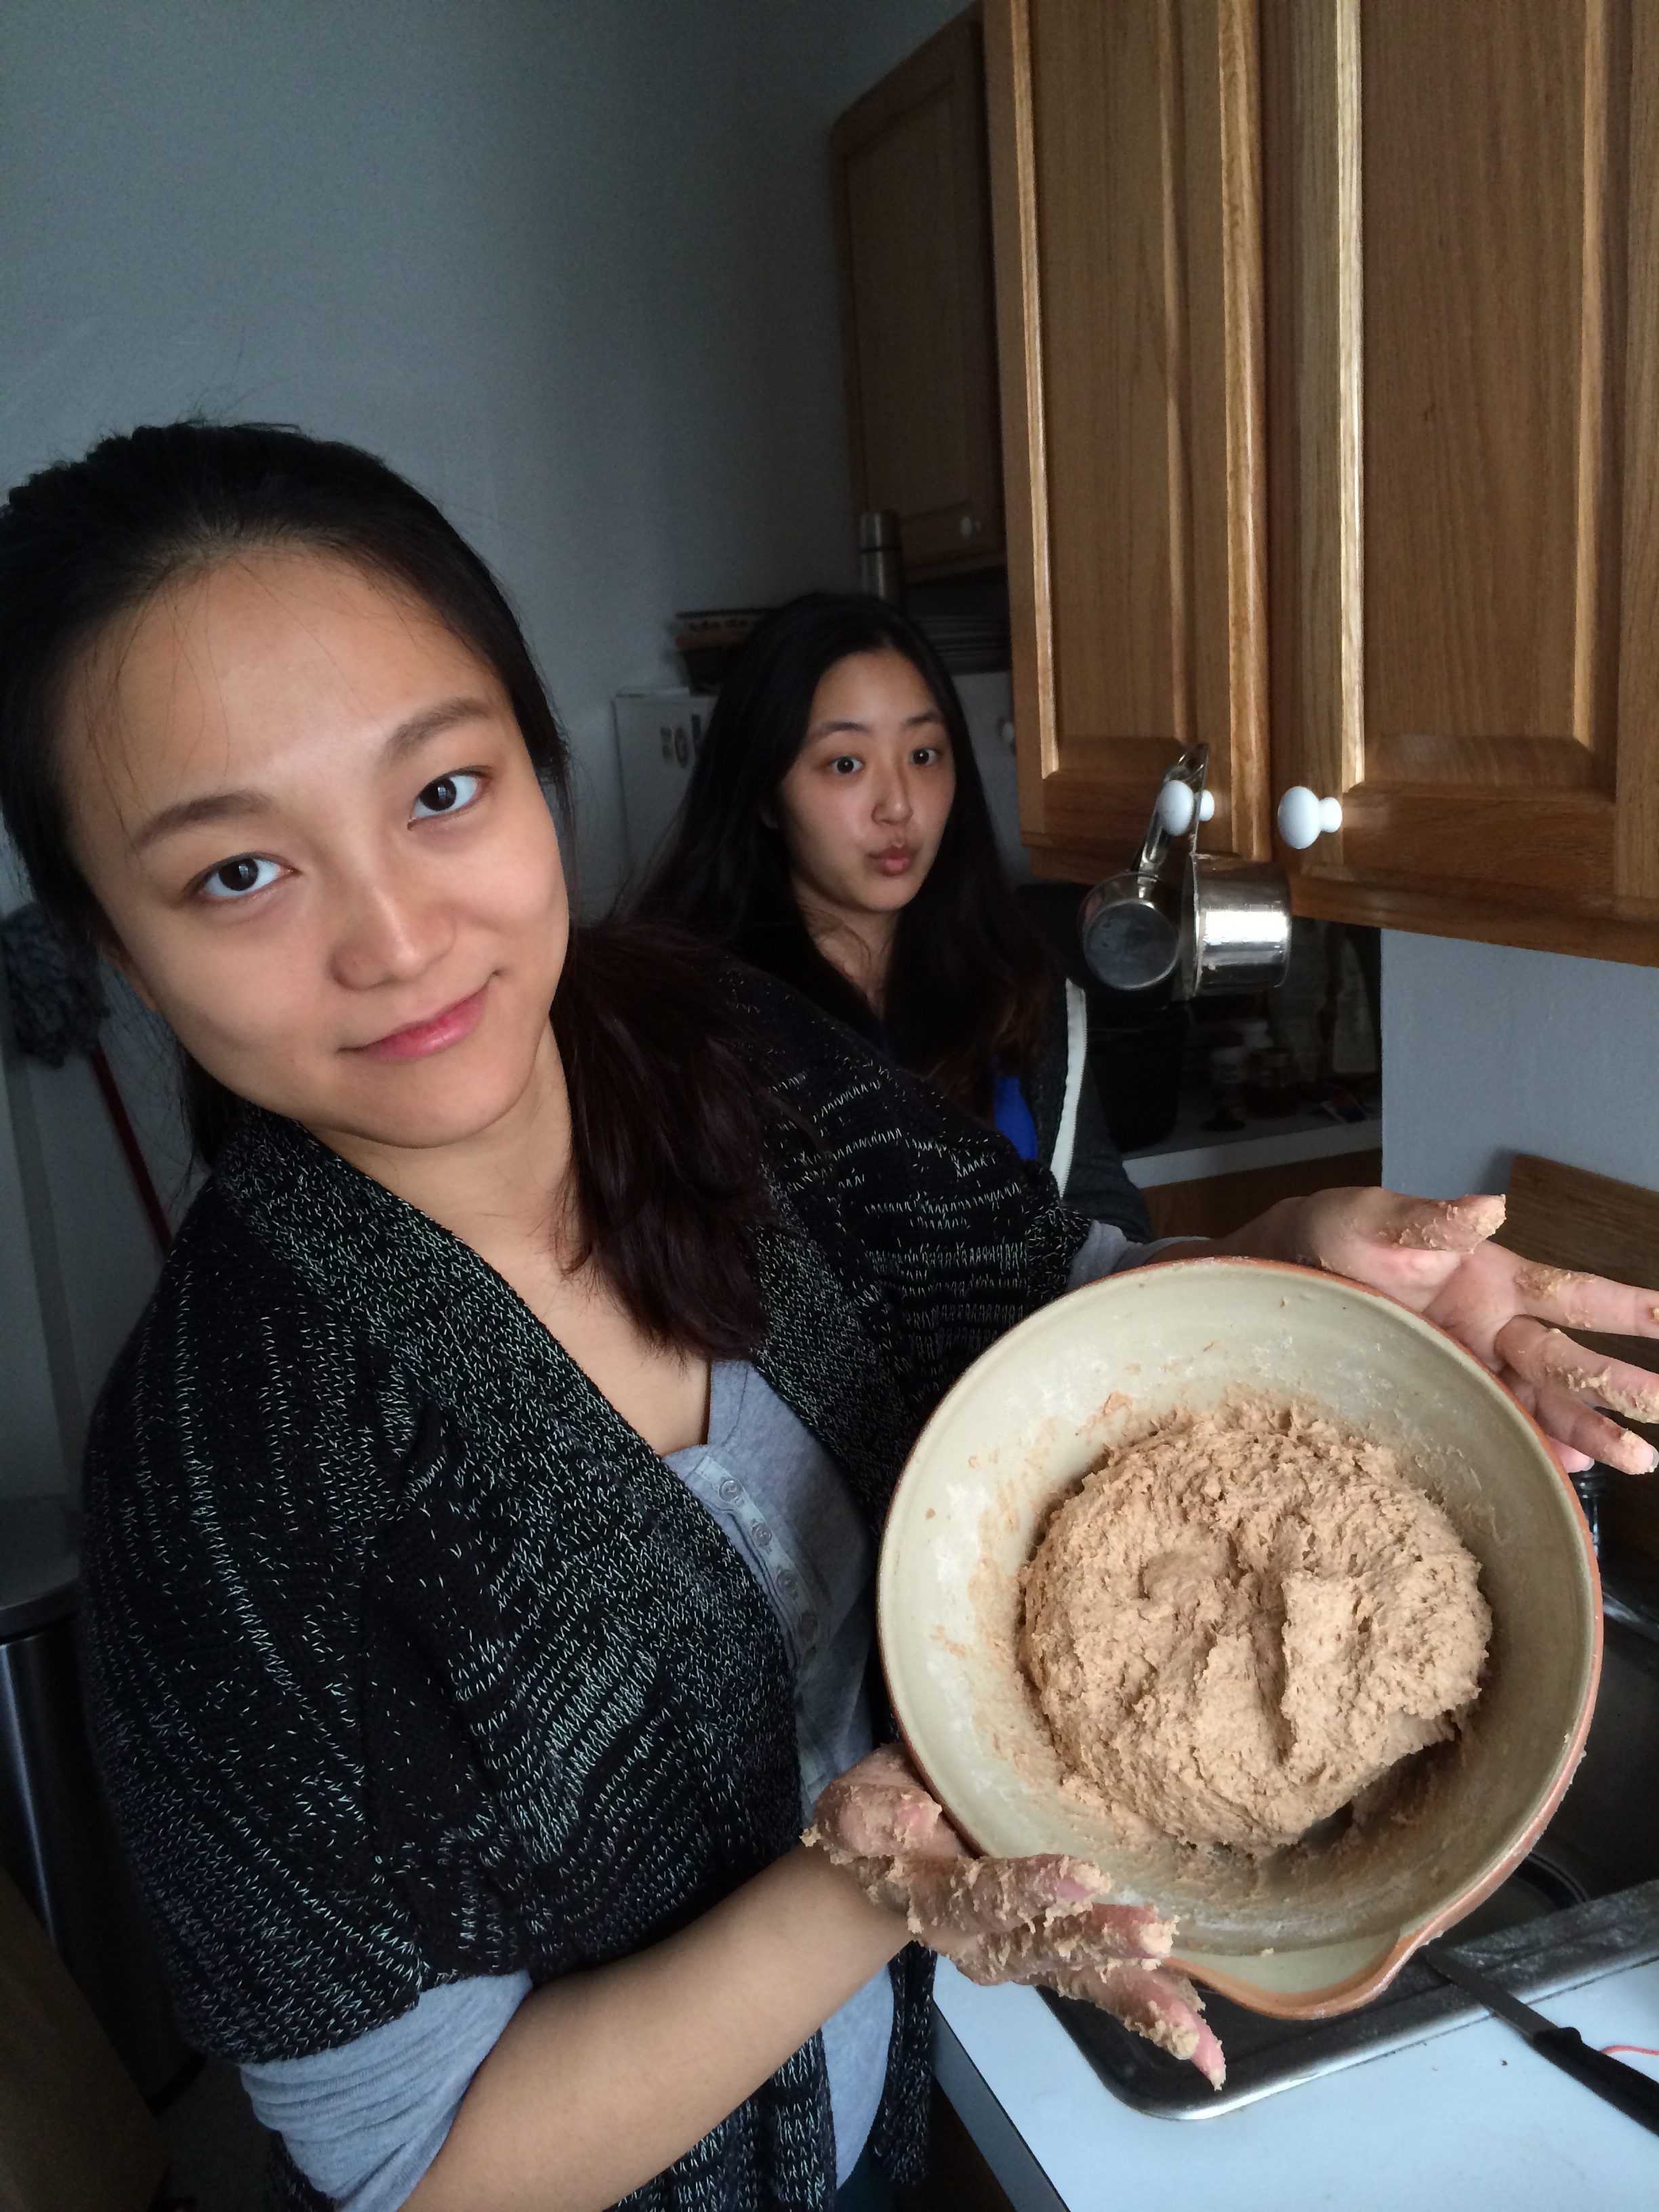
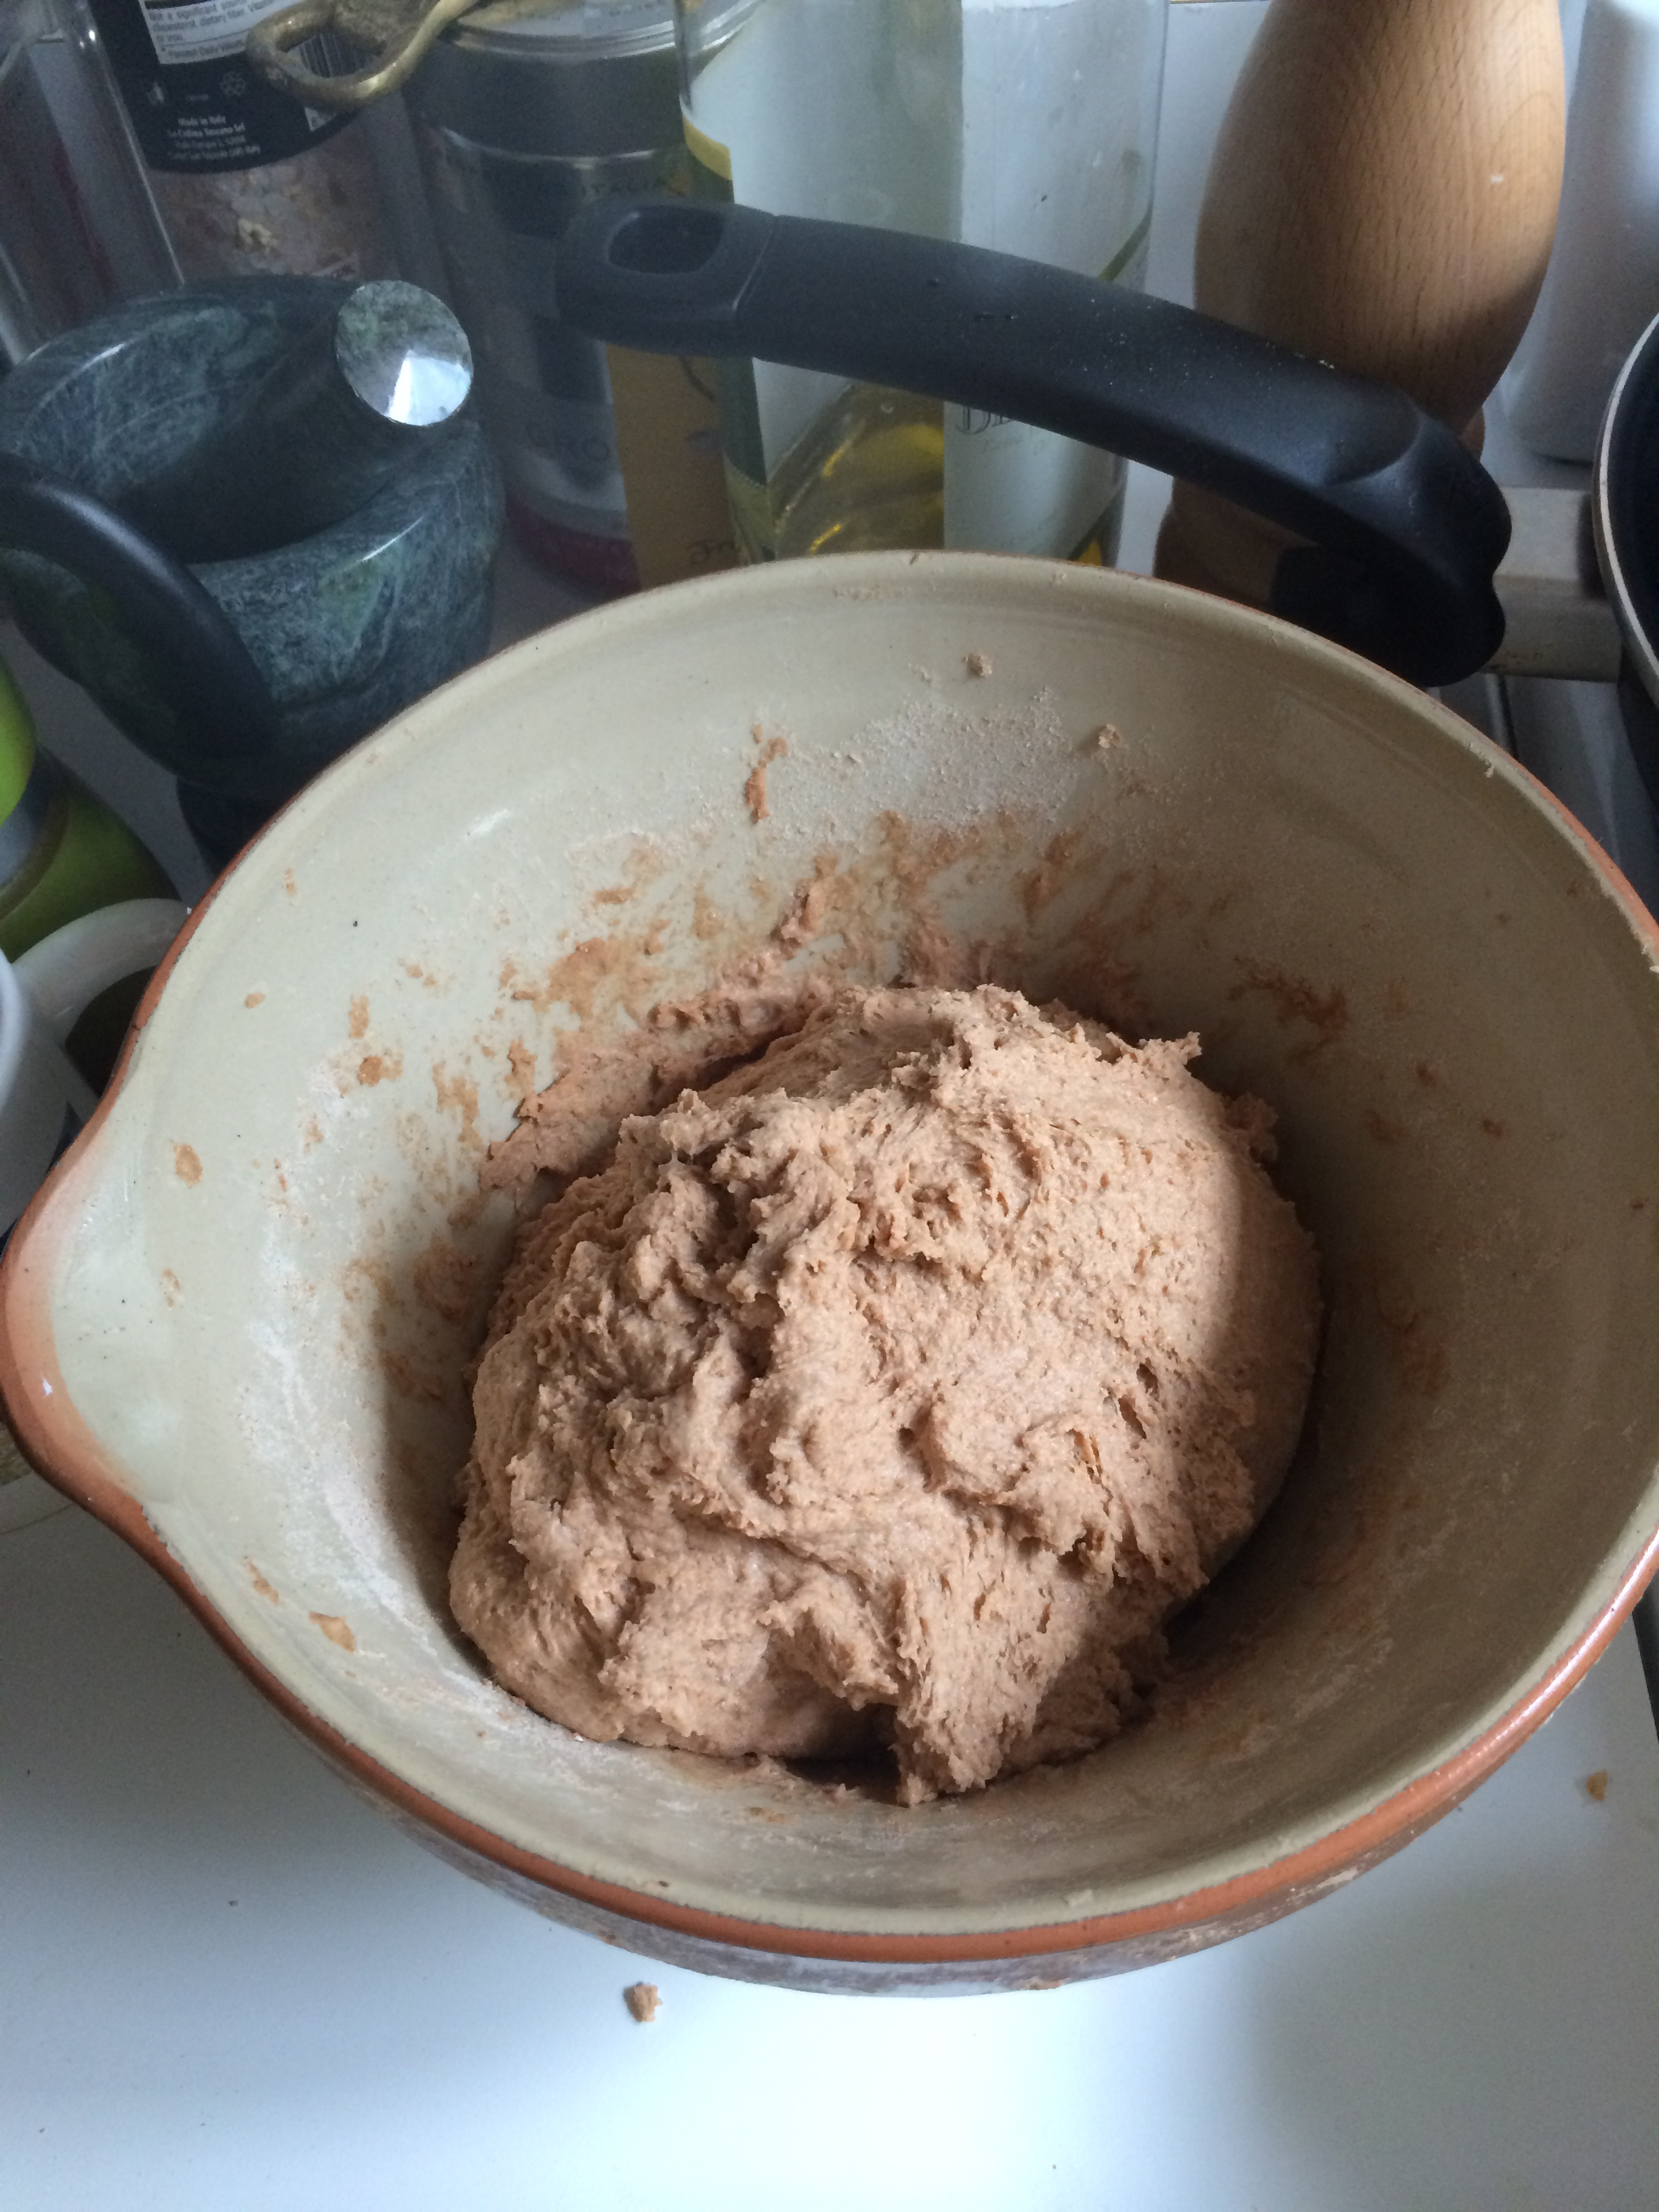 |
| before first rise |
 |
| after first rise |
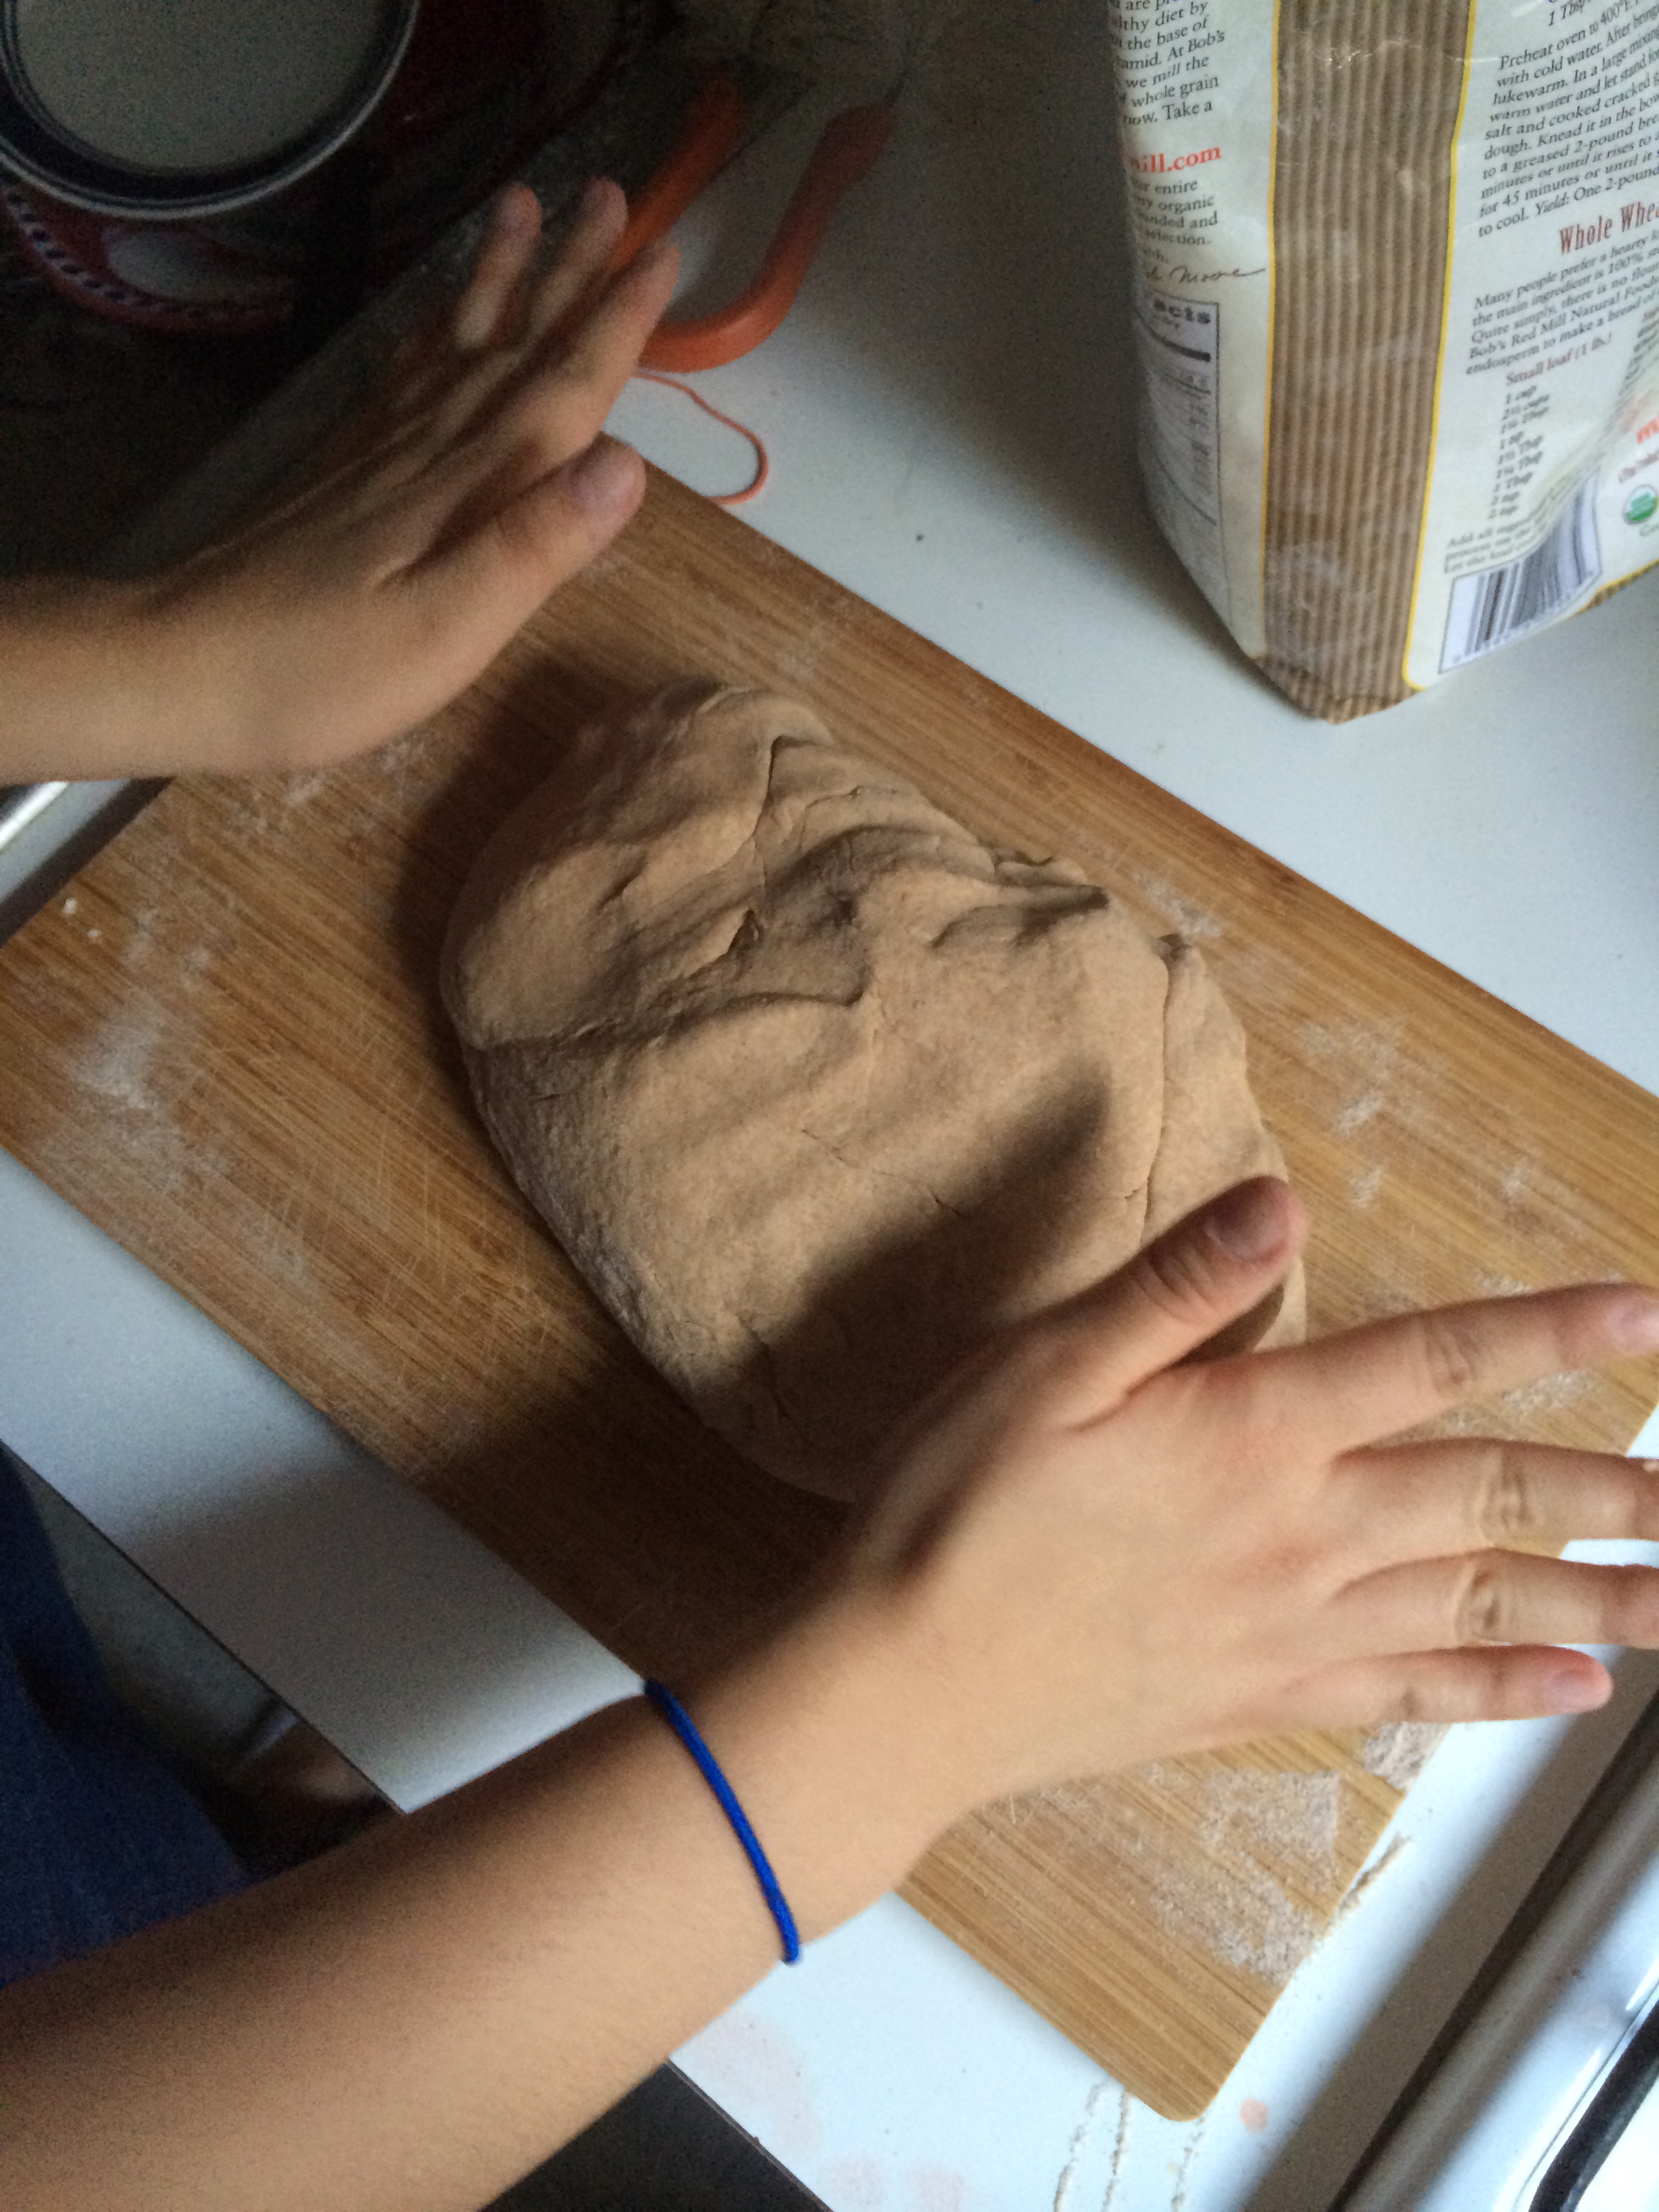 |
| dough is much more extensible and sticks better to itself |
 |
| before second rise, seam up |
 |
| after second rise |
 |
| final folds - dough is now smooth and sticking to itself well, good elasticity |
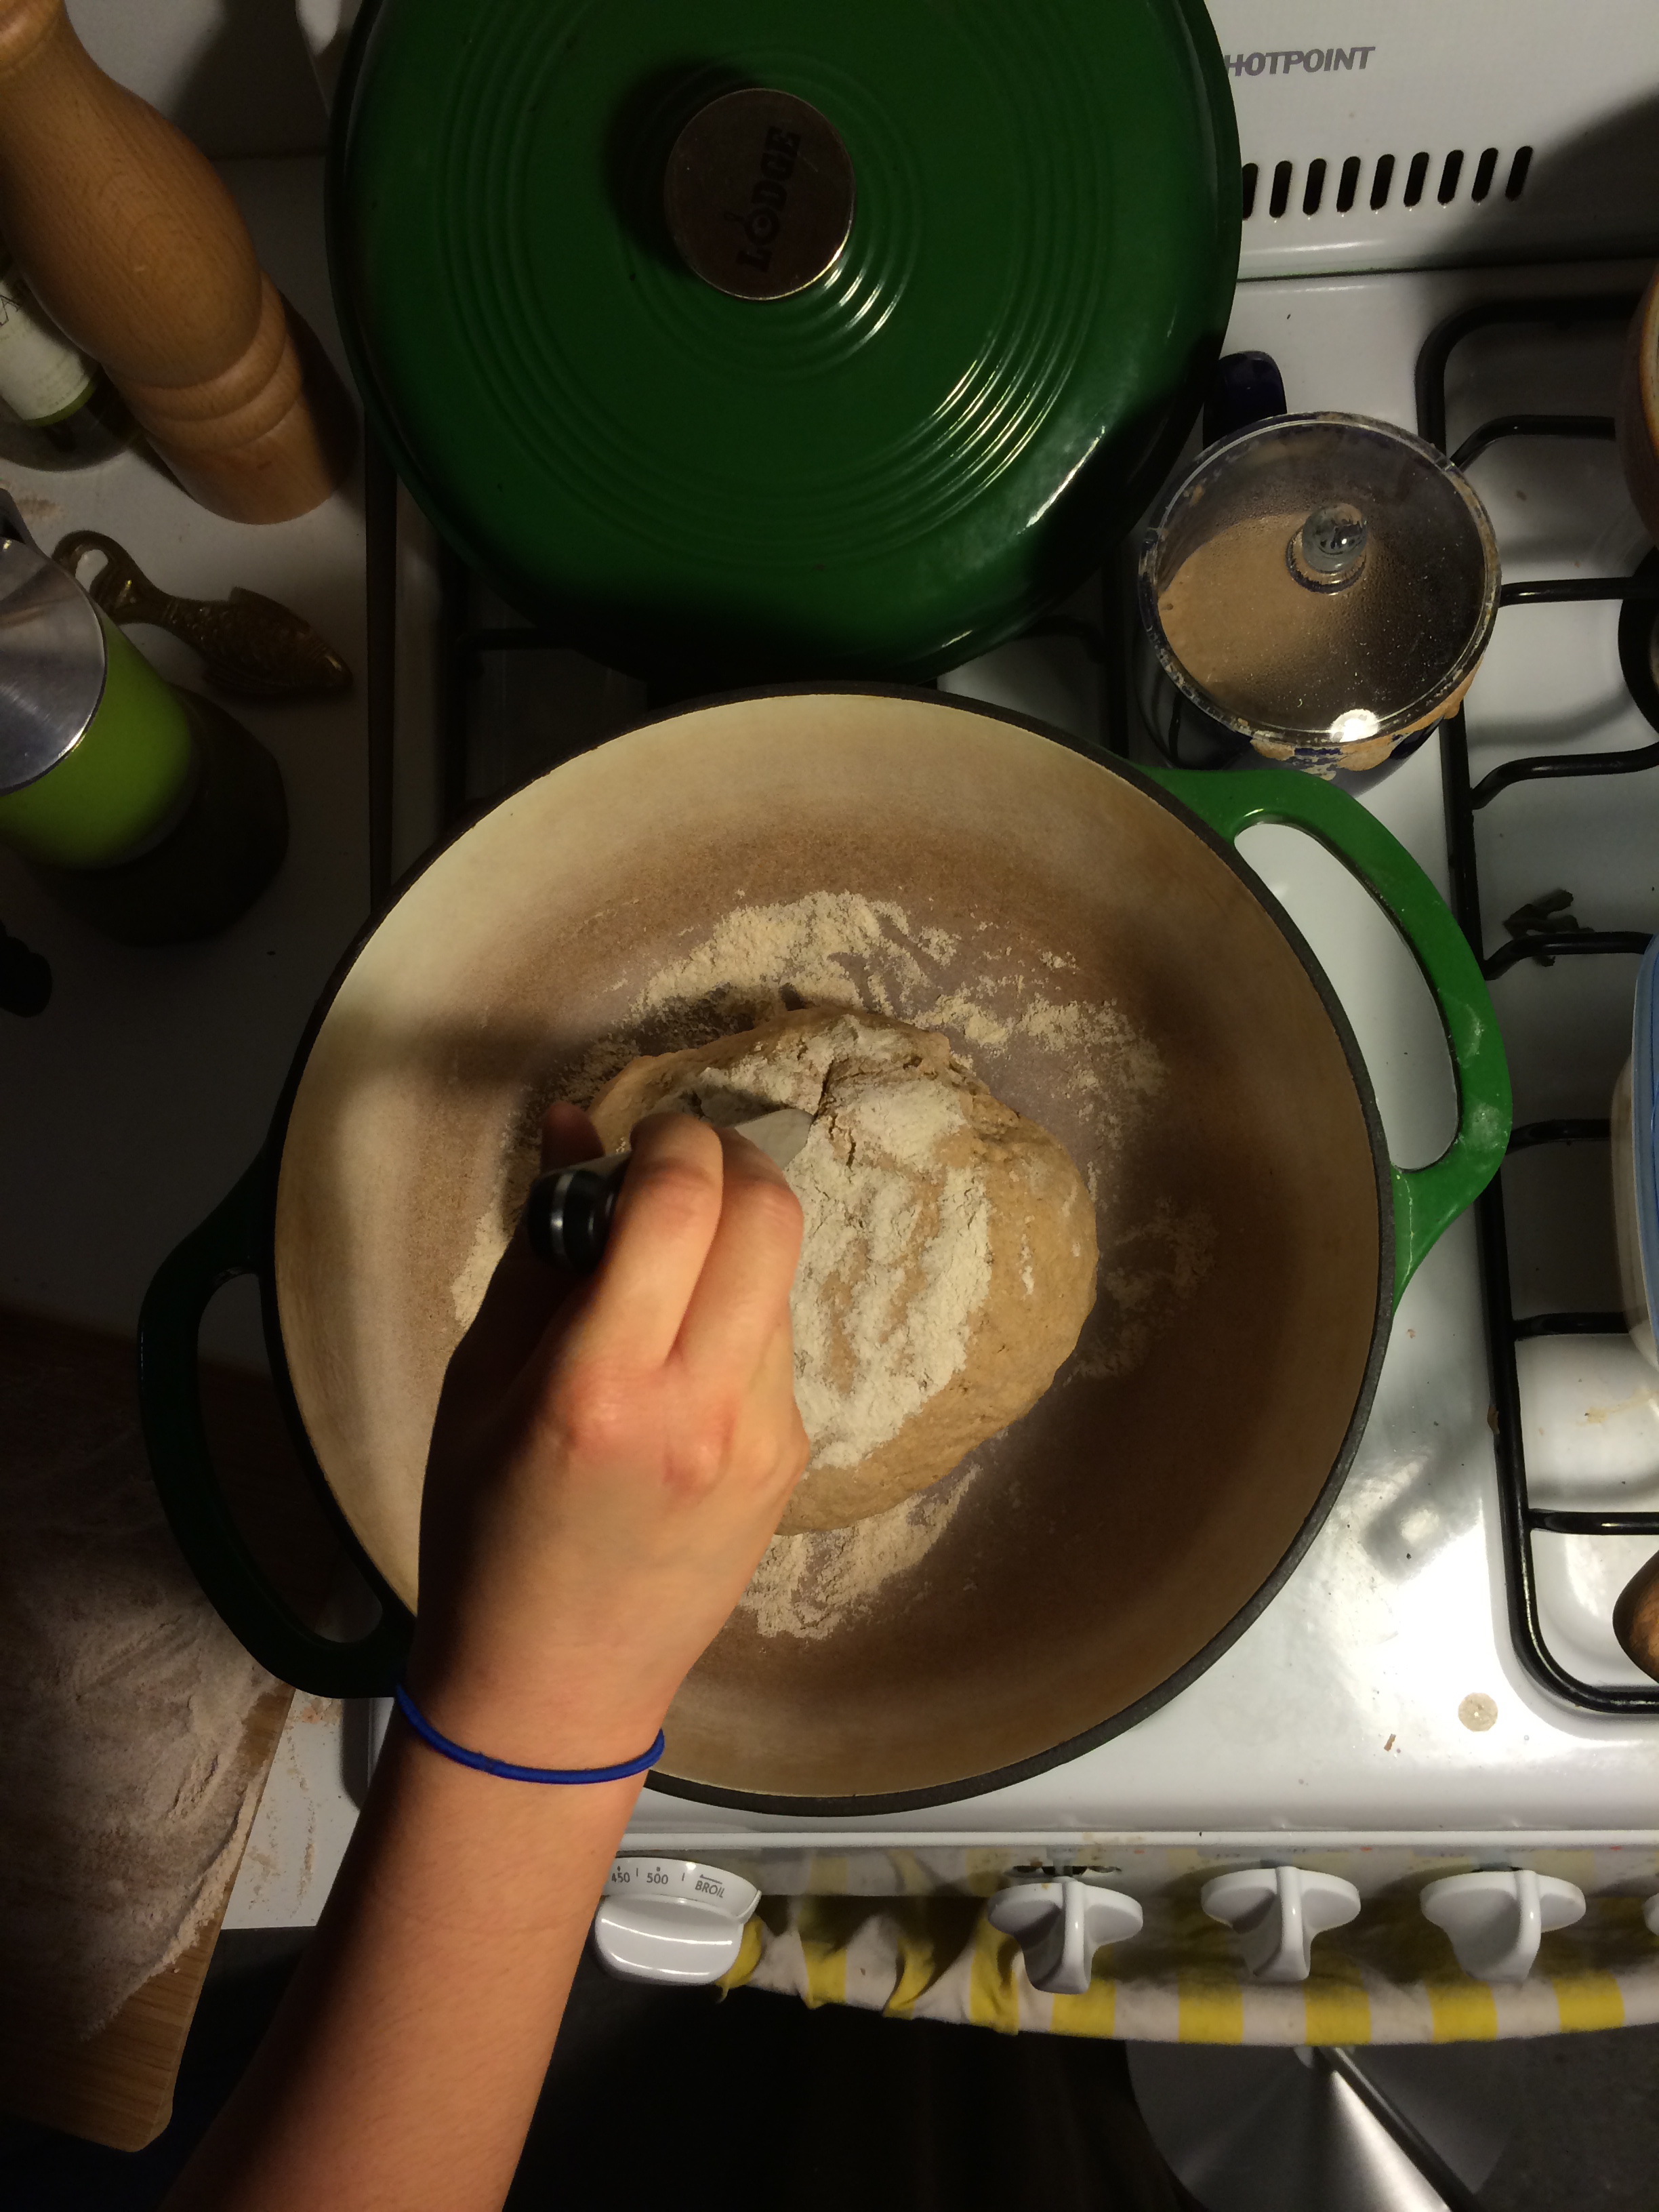 |
| cutting slits into dough ball in enamel-coated cast iron Dutch oven, dusted with flour above and below, before baking |
 |
| dough ball ready for the oven! |
September 18, 2014
Diana MellonBread Molding Recipe, first cast in beeswax
procedure for casting in beeswax
- beeswax heated until fluid using variable medium temp hot plate under hood in lab, stirred with wooden spoon
- shape paper coffee cups into beaker form
- pour melted wax into paper cup
- pour wax from cup into molds
- for our scissors mold: